Best Photography Equipment for Travel
When you travel anywhere it's important to have the right equipment to capture the surroundings....


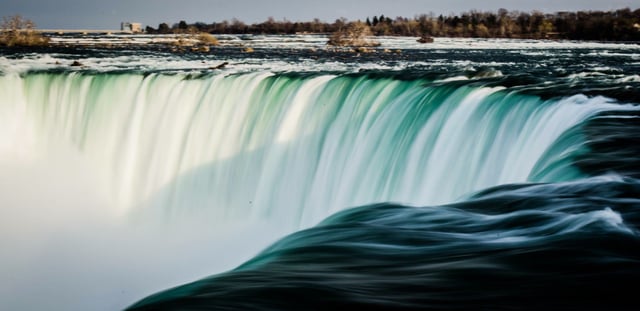
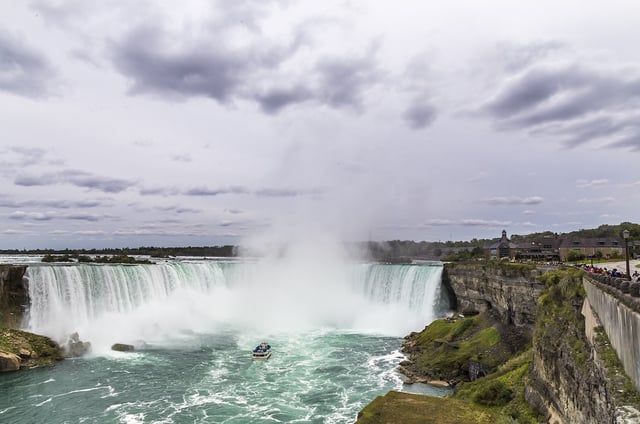
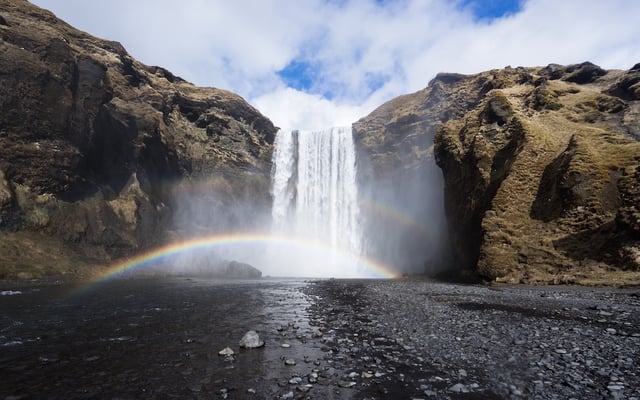
Have you ever wondered how photographers get that glossy look in waterfalls? The water does not look like this to the eye, but as it turns out, this is a remarkably simple thing to do. Here's how to capture waterfalls in your photography:
What you will need:
Set the tripod somewhere stable, and adjust the height.
1-2 seconds should be good, but feel free to play around and go lower or higher
Since the shutter will be open for such a long time (relatively), we want the aperture (basically the whole in the lens) to be as small as possible. Set your aperture as low as your camera will allow (bigger numbers are lower apertures), it will probably be around f/22.
Set your iso as low as possible. This will probably be around 100.
This step may not be necessary, but if your image is coming out white, an n.d. filter will lessen the amount of light going into your camera. The higher the n.d. filter, the more light that will be blocked. For example, a 0.6 n.d. will be a 4X reduction, whereas a 6.0 n.d will be about 1,000,000X reduction.
And that's it! Follow these steps and you will be able to capture waterfalls in your photos with ease. Happy Snapping!
